I followed Michael's dummies guide and have made my first pack, 4 flights done and all good.
Being located in Australia, batteries of a correct size are had to get. i managed to source a 4500 MaH battery pack, followed the guide and all good.
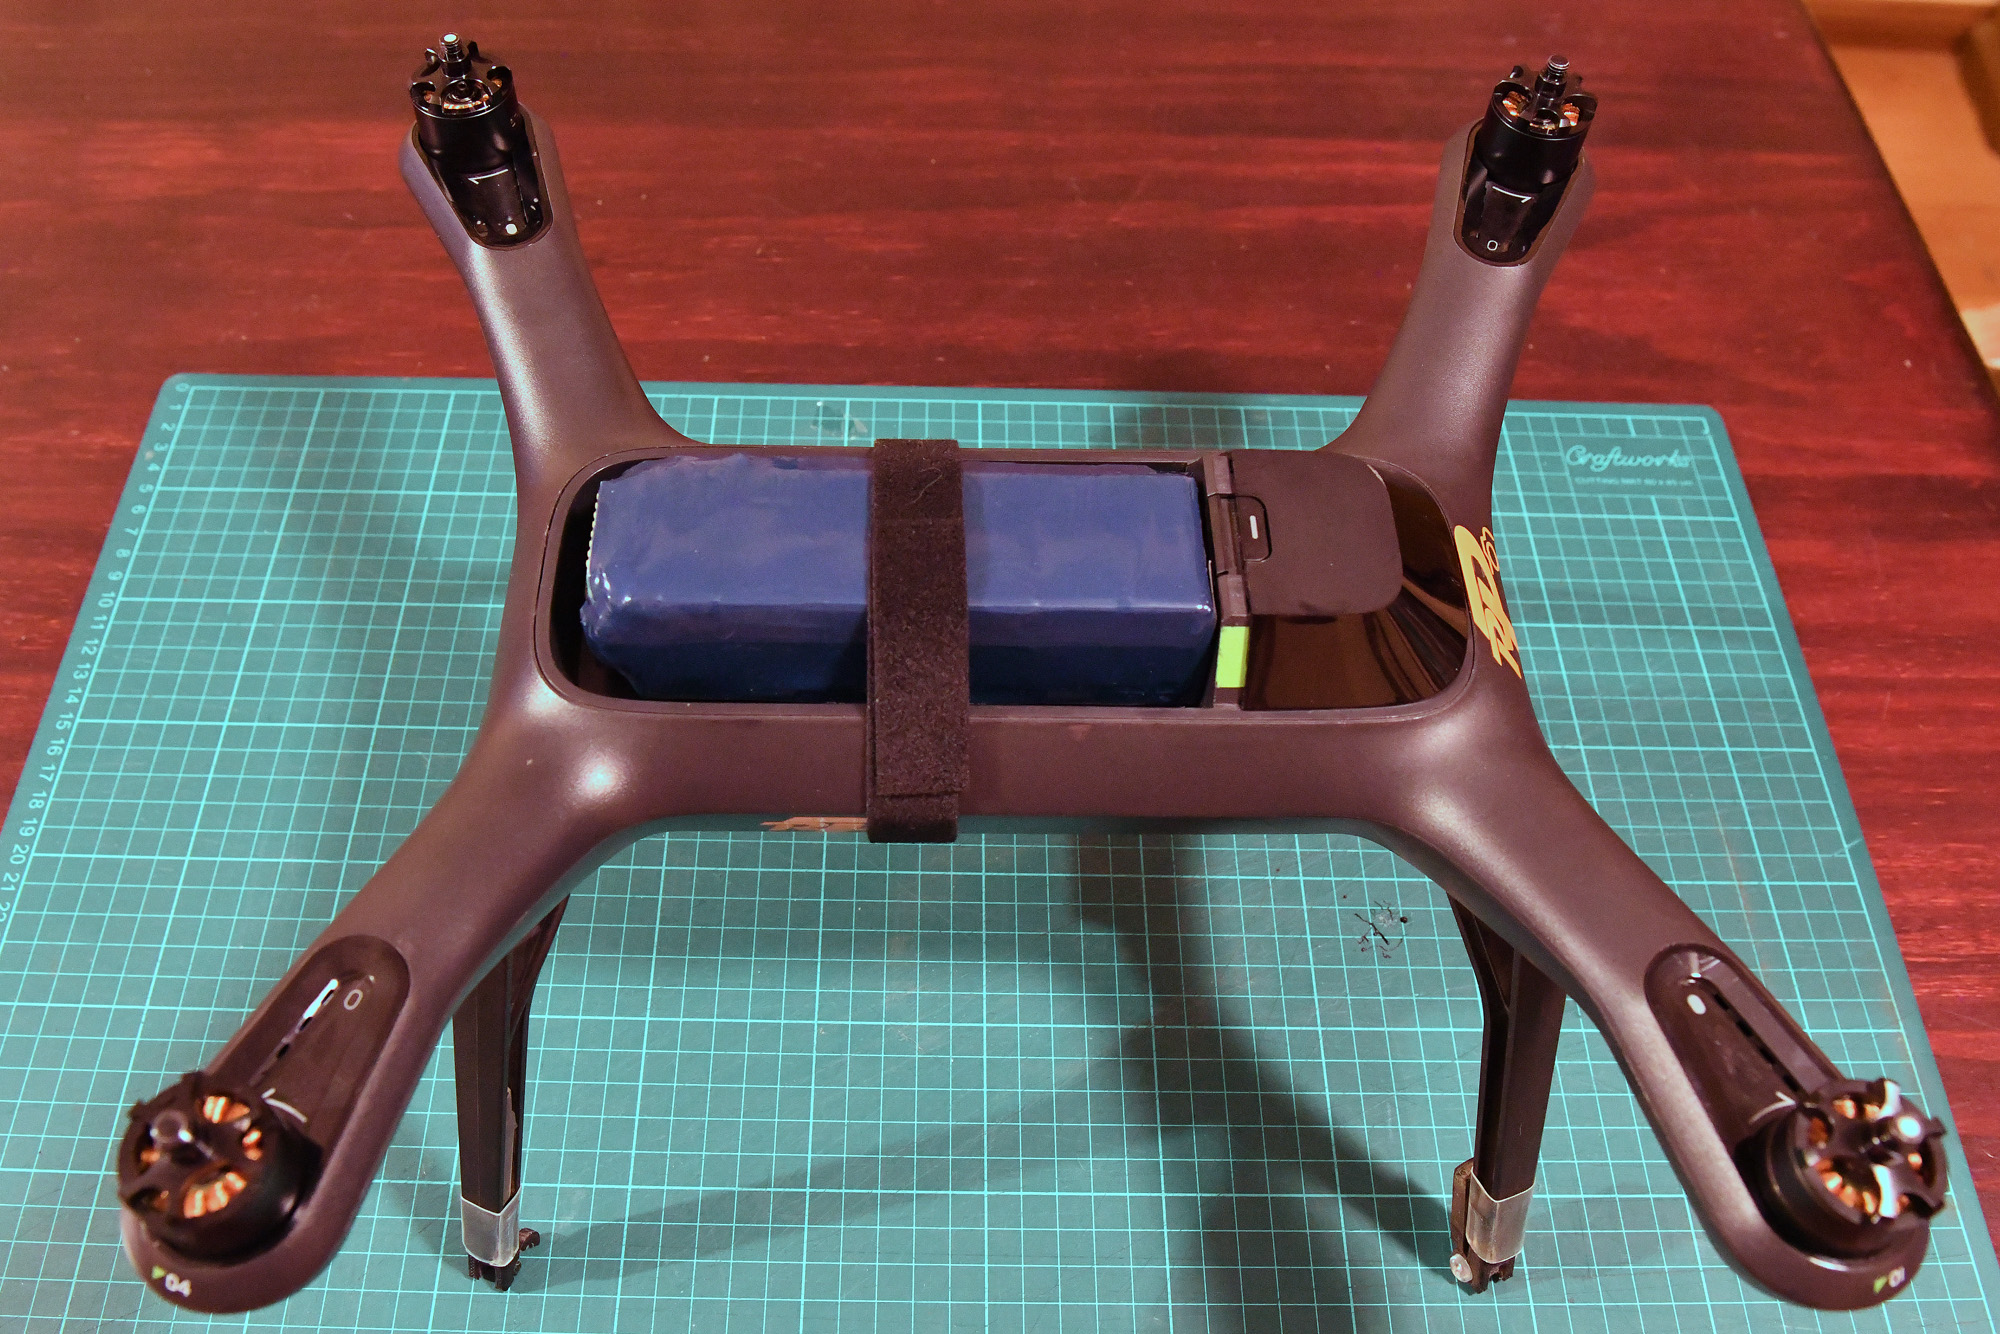
I get 12 minutes out of the pack with my Nikon on the bird (total weight just under 2kg) which for the pack size is ok. Landing with 15% left, all alerts work fine and battery tested (mad hackers test tool) is showing the pack correct size.
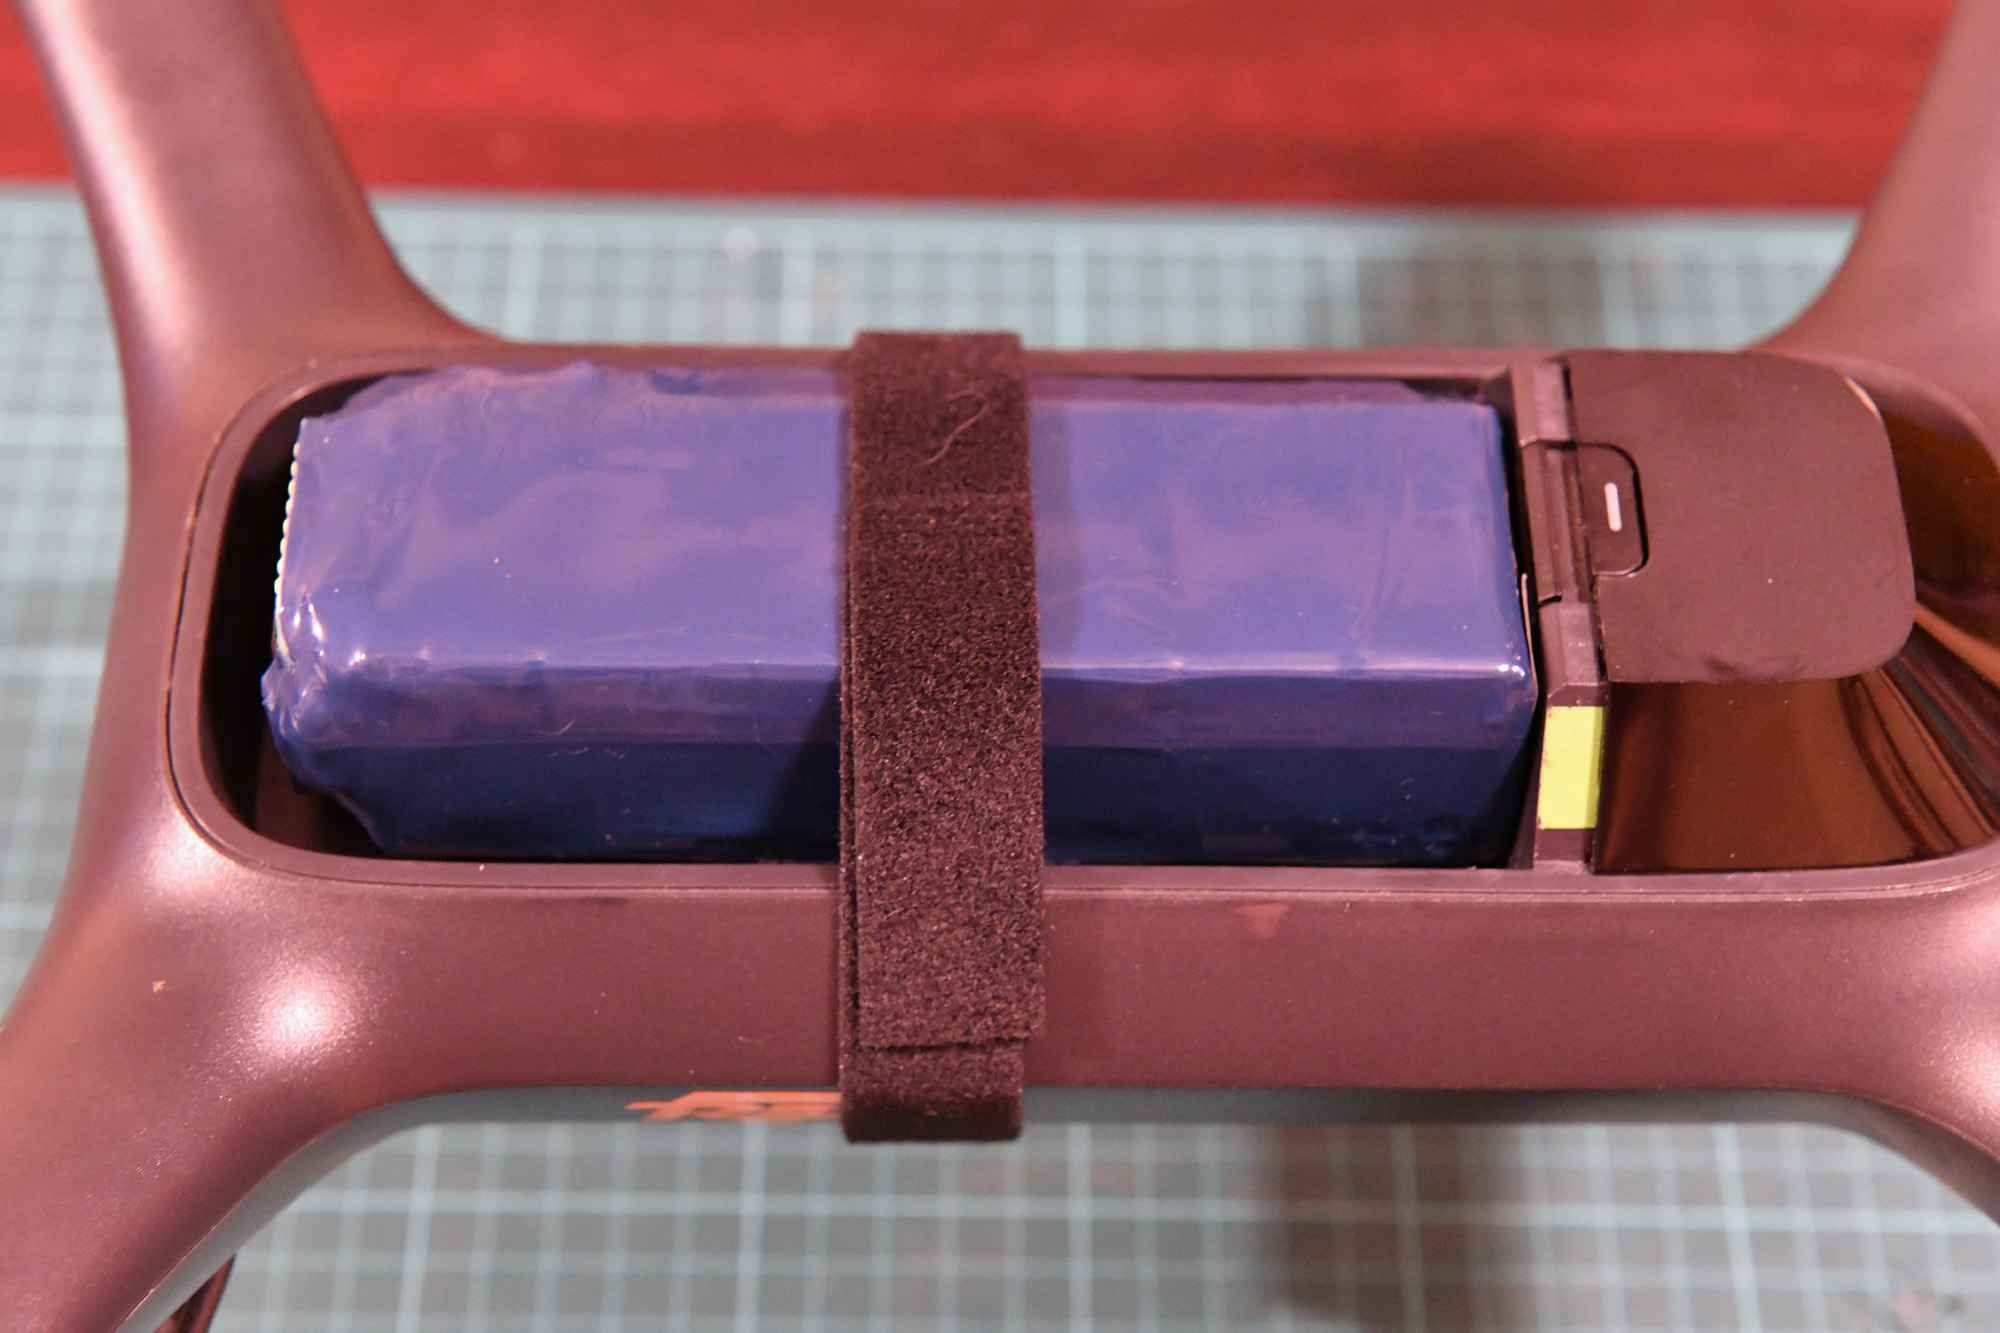
Not using the original case, pack slightly too long, covered in heat-shrink and use a velcro strap to hold in the battery tray. Turned a dead pack into a useful pack for a total of $44 AU, happy with that.
Thanks again Michael and all involved in putting together this guide.


")
